

Recipe for Play - Rainbow Sand Slime
.JPG "Homemade RAINBOW sand slime - This no cook slime recipe is so easy to make, and the rainbow sand gives it a unique texture for added sensory fun.")
We love slime. Love it. We always have at least one batch of slime on hand, sometimes more than one. We use a very basic, no cook slime recipe that only calls for two ingredients. The base recipe is so simple, and then the possibilities for adding textures and colors and other goodies are endless. One of the many reasons this slime recipe is one of our favorite recipes for play is that it lasts for months and months. We love sensory materials that last, so we can extend their use and stick to a reasonable play budget. Since the boys had so much fun with our homemade sand paint I thought it would be fun to use the sand to make rainbow sand slime.
.jpg)
This post contains affiliate links. Here is my full disclosure policy.
Supplies:
.JPG "No prep, no mix, two ingredient slime recipe. Use this base recipe as it is or add color and texture for more sensory fun!")
Directions: In the past JZ (6) and J-Bug (4) have helped me mix our homemade slime and silly putty. Mixing by hand adds to the sensory experience, and it is fun feeling the moment that the two elements combine and form slime. However, I discovered by accident that these two ingredients do not need to be mixed and kneaded to create slime! I poured the liquid starch and clear glue into a bowl then went to grab the craft sand. I got distracted, and it ended up being about ten minutes before I got back to the mixture. I had not touched it at all after pouring into the bowl. When I came back to it I realized I should start mixing. I grabbed it, and the slime literally pulled up together as pictured above. This slime recipe seriously could not be any more simple!
Troubleshooting: We use equal amounts of glue and starch, but I don't measure. If the slime is too runny, add more glue. If it is too sticky, add more starch. Without mixing by hand there might be some lumps, but those will go away during play as the slime is handled more. If you want to add color, I suggest adding it immediately. We have used food coloring, liquid watercolors, or tempura paint and have success with each method.
.JPG)
With the slime set and ready to go I set out the bowl of slime next to containers of craft sand and invited JZ to create rainbow sand slime.
.JPG)
I figured he would use all the sand I set out, so I only filled the containers a small amount.
.JPG)
After pouring all the sand into the slime, JZ dug in and started to combine it all with his hands.
.jpg "Homemade RAINBOW sand slime - Slime is so easy to make, and the rainbow sand gives it a unique texture for added sensory fun.")
As he mixed he described the gritty texture. He commented on how the different colors looked as the mixed together.
.JPG "Homemade RAINBOW sand slime - Slime is so easy to make, and the rainbow sand gives it a unique texture for added sensory fun.")
Before long I had to put my camera down and start playing too. This slime is awesome. The unique texture felt so cool. I kept rubbing it between my fingers.
.jpg "Ooey gooey homemade RAINBOW sand slime - Slime is so easy to make, and the rainbow sand gives it a unique texture for added sensory fun.")

.JPG "Homemade RAINBOW sand slime - This no cook recipe for slime is so easy to make, and the rainbow sand gives it a unique texture for added sensory fun.")
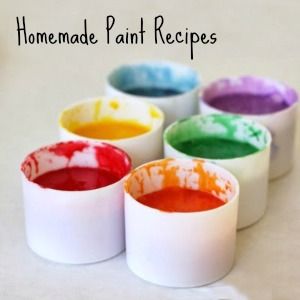
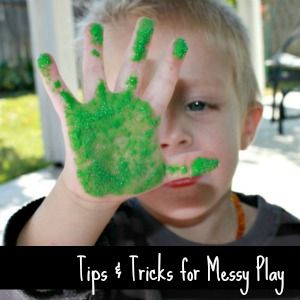
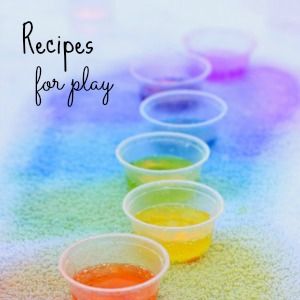
Click the images below for more recipes for play:
.jpg)
.jpg)
.jpg)


Wow! This looks amazing! Pinned to my slime/goop board! ;-)
ReplyDeleteHow long does this last before it dries up? Im running a messy morning and will need to make everything the day before will this be okay?
ReplyDeleteIt will last for months in an airtight container! :)
DeleteThis is such a neat activity! We are totally trying this!
ReplyDeleteI featured this on TGIF this week! Thanks for linking up and sharing your creativity with the rest of us - hope to see you linked up again later today!
Have a GREAT weekend =)
Beth
super
ReplyDeleteIs it safe to eat???
ReplyDeleteWould regular school glue work for this too?
ReplyDeleteYep! The color will be different, but it will still work.
ReplyDelete