

Scented Finger Paint Recipe for Play
.JPG "Scented Finger Paint Recipe")
If you regularly visit Learn Play Imagine you know that we love homemade paint and trying new paint recipes. We also love revamping old recipes for play to make new art and sensory experiences. Since we had so much fun with our Kool Aid water colors and Kool Aid puffy paint I have been brainstorming other paint recipes to mix with Kool Aid. One of our favorite recipes is our edible finger paint. It takes less than ten minutes to whip up, and it's a favorite of all four of my boys. Of course I knew they would enjoy the added sensory experience of making Kool Aid finger paint!
.jpg "Kool Aid finger paint")
How to Make Scented Finger Paint
This post contains affiliate links. Here is my full disclosure policy.
Supplies:
- 2 cups cold water
- 1/2 cup cornstarch
- 3 tablespoons sugar
- Kool Aid packets
I added everything but the Kool Aid to our Vitamix and blended it together on high for about six and a half minutes. If you don't have a Vitamix or comparable appliance you can whisk together all ingredients on the stove over medium heat until thickened, stirring constantly. If you do have a Vitamix the appliance will heat the ingredients up enough to cook the paint. (I highly recommend purchasing one. They are pricey but worth every single penny!)
.JPG)
I poured the very hot homemade paint base into small bowls. Then I added the Kool Aid powder to each bowl.
.JPG)
J-Bug (4) helped me stir the Kool Aid into the paint. Please use caution with young children while the paint is still hot.
.JPG)
Tank and Peanut (24 months) saw me setting up the invitation to paint and were too eager to wait. By then the paint was cool enough to not be concerned about burns but not quite cool enough to comfortably stick our fingers in.
.JPG)
I quickly grabbed paint brushes, so they could start creating art. As you can see the paint is thinner when warm. As it cools it thickens up to the perfect finger paint texture.
.jpg)
Both fingering painting and using brushes were a whole lot of fun for all of us.
.JPG)
.JPG)
When my boys moved on from painting to another activity I brought out a fresh piece of butcher paper to cover their table with, so they could finger paint when ready.
.JPG)
It didn't take long for Peanut to see the clean slate and dive into the paint.
.JPG)
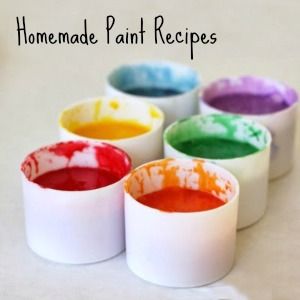
I love this finger paint recipe. The paint is thick and soft and spreads easily. Please note that while this recipe is technically "edible" I would avoid using it with babies and young toddlers. I wouldn't want my kids consuming large amounts of Kool Aid powder, and this recipe actually tastes quite delicious. For younger children I recommend these recipes for homemade paint. My toddlers did taste the finger paint, but they didn't care to eat too much. They were much more interested in painting.
.JPG)
It is also very messy, especially with toddlers.
.JPG)
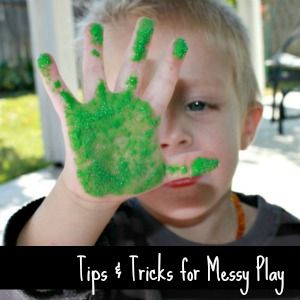
Here are my best tips and tricks for messy play as well as laundry tips to avoid stains. I love the freedom of letting my little ones create without worrying about the mess!
.JPG)
I will say that as wonderful as the scents were, adding Kool Aid to this paint recipe definitely made the finger paint thicker and stickier. If this seems a bit too messy for your tastes I encourage you to use food color or liquid water colors like in my original finger paint recipe. Finger painting will always be a messy activity with toddlers, but the Kool Aid free version is a little easier to clean.
.JPG)
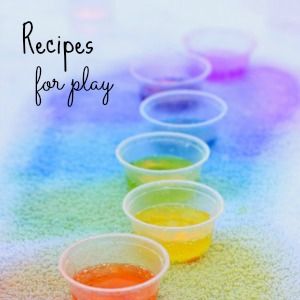
The sensory experience outweighed the mess, and I will gladly make this recipe for play again this summer. I doubt if I will make it during the colder months, at least while my twins are still young, because I found the easiest way to get them clean was to hose them off before carrying them upstairs into the bath tub. Once they are old enough to understand that they can't touch anything on the way to the sink or bath tub I won't shy away from making this and using at the table indoors, because it really is a unique painting experience.
.JPG)
The longer the paint sits, the thicker it becomes, so store in an air tight container when not in use. These paints do not have a long shelf life, and this recipe makes enough for one play time in our family.
.JPG)
I look forward to experimenting with different colors and scents! This time I used Orange, Cherry, Grape and Lemon Kool Aid. I used an entire packet per color, but I would imagine you could use less, especially of the grape and orange, as they were the most vibrant of the four.
.jpg "Homemade finger paint recipe")
I added yellow liquid water coloring (food coloring would work just as well) to the lemon, because the color is fainter than I like. With the extra coloring it was perfect.
.JPG)
.JPG)
More finger paint recipes:
.JPG)
.jpg)
.JPG)


I love how you made your kool-aid finger paint! Do the boys eat it since it has sugar? We have never tried this fingerpaint recipe (nut I want to ;) )
ReplyDeleteThis is SO GREAT!!! Thank you for sharing!! I'm a new mom who wanted to let her little one experience art, but didn't know how! Thanks! You have now a HUGE fan from Buenos Aires, Argentina =)
ReplyDelete